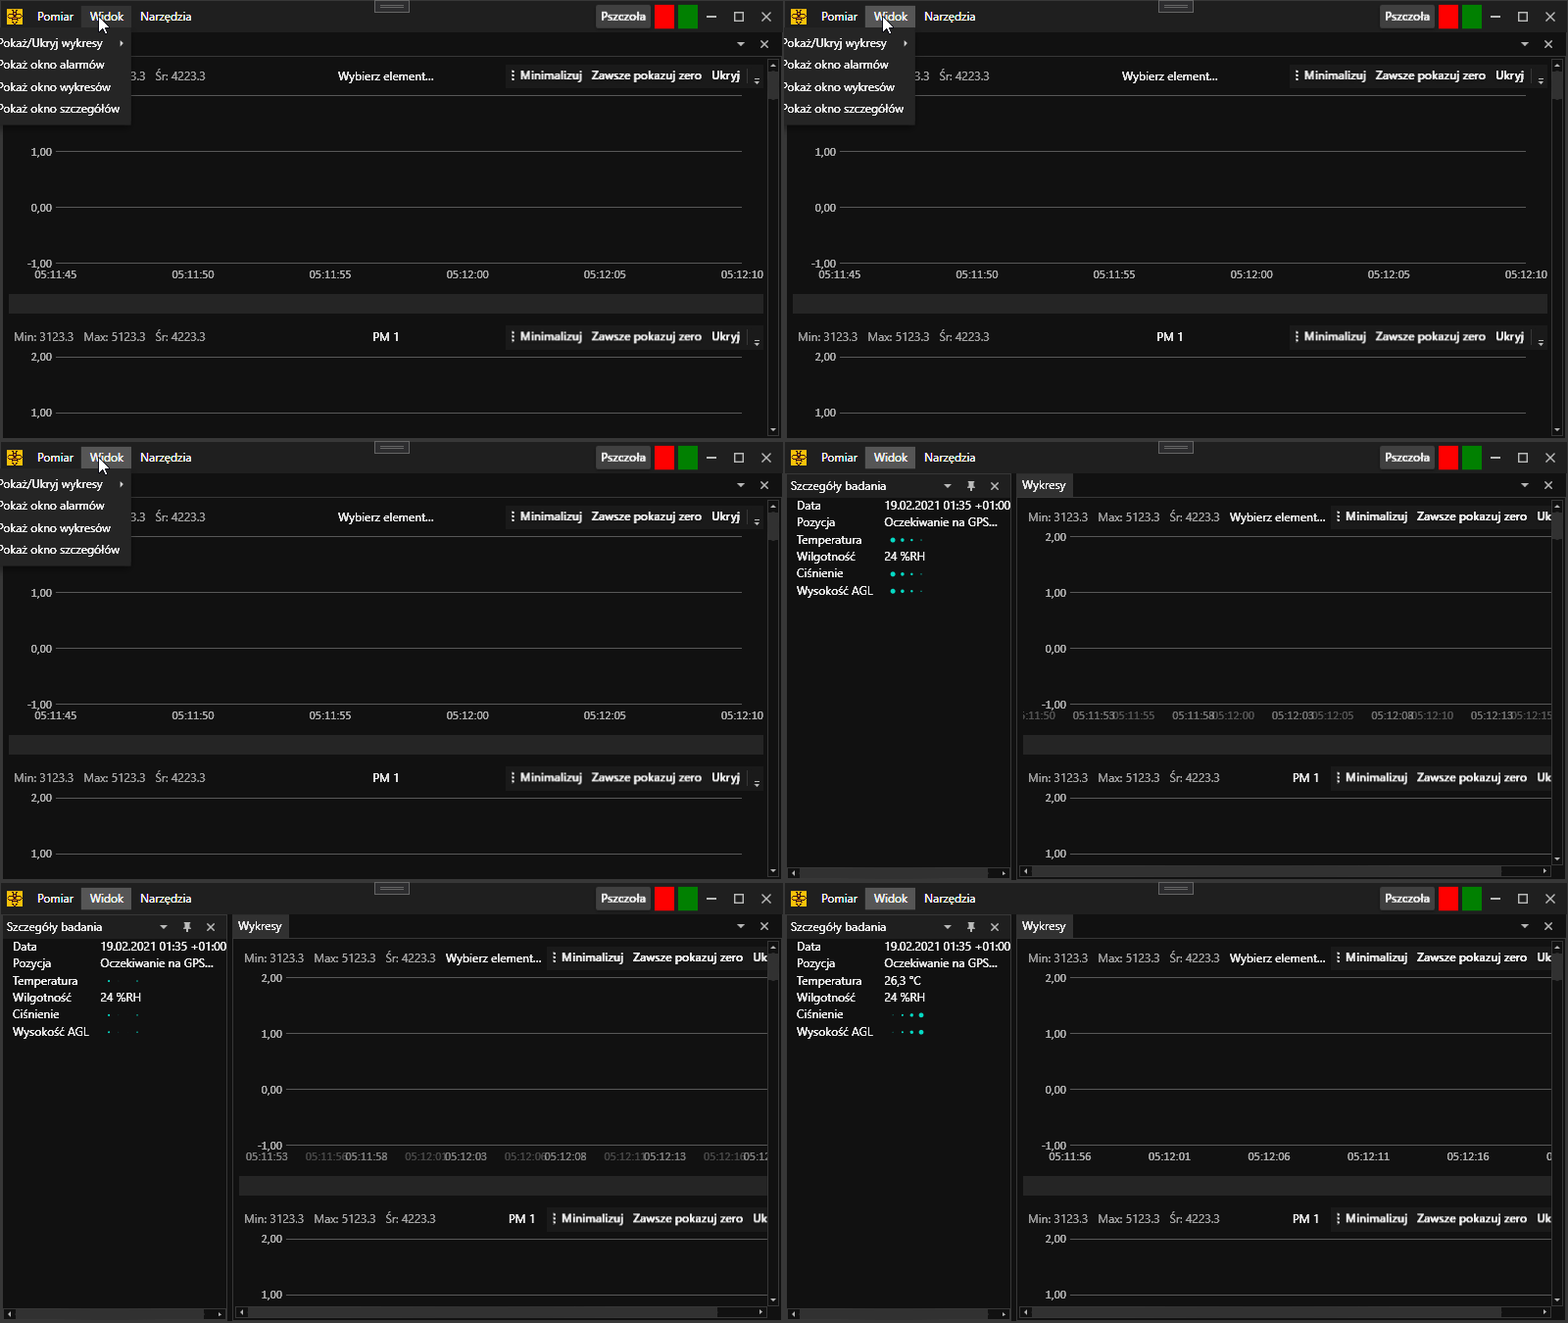
XAML has tremendous capabilities and I guess most of them are still unknown to me, and the few that I do learn often fly out of my mind due to unit usage.
In this note, I would like to keep my knowledge of {Binding TargetNullValue="…"} for longer because I find it useful and definitely speed up application development.
TargetNullValue
By default, in most examples I have seen TargetNullValue being used like this:
TargetNullValue.<Label Content="{Binding MyText TargetNullValue=You did not specify a value}" />Nowhere so far have I encountered the use of another control in place of TargetNullValue, but it is possible!
There are a few pitfalls when doing this, but everything is explained in the example below:
TargetNullValue, where the value is another XAML control<ListView ItemsSource="{Binding Properties}">
<ListView.ItemTemplate>
<DataTemplate>
<Label>
<Label.Resources>
<ResourceDictionary>
<Syncfusion:SfBusyIndicator x:Key="Busy" x:Shared="False" IsBusy="True" AnimationType="Message" /> (1)
</ResourceDictionary>
</Label.Resources>
<Label.Content>
<Binding Path="Value" TargetNullValue="{StaticResource Busy}" /> (2)
</Label.Content>
</Label>
</DataTemplate>
</ListView.ItemTemplate>
</ListView>| 1 | The element we want to display when our value is null.
Note that it is inside the ResourceDictionary dictionary, and most importantly it is marked x:Shared="False" - this is essential.
Without this, using a given element repeatedly will result in errors such as, that our SfBusyIndicator will only display in one place. |
| 2 | Proper binding definition - note that the value is set by standard, and TargetNullValue refers directly to our dictionary using the StaticResource construct. |
With this solution, we get an independent loading indicator anywhere the value is null!
Note also that using this technique, I was forced to make a custom column template for GridView - in the course of my efforts, I was unable to get this working in a simpler way.

TargetNullValue. This is a gif, so it should move.